

KITCHEN BASICS · LESSON 03
Know Your Appliances
Every stove has its own habits. Learn what the controls mean, what the heat is doing, and the small details that make everyday cooking safer and easier.
That row of buttons may look intimidating. Most home cooking comes down to a few things: choosing the right heat, keeping an eye on the food and knowing how to stop safely.
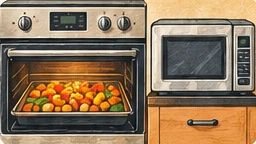
1. Meet the controls before cooking
Every stove and oven has its own personality. Take a minute to find the model number and manual, learn which control belongs to which burner and locate the off or cancel control. A timer may beep without turning off the heat.
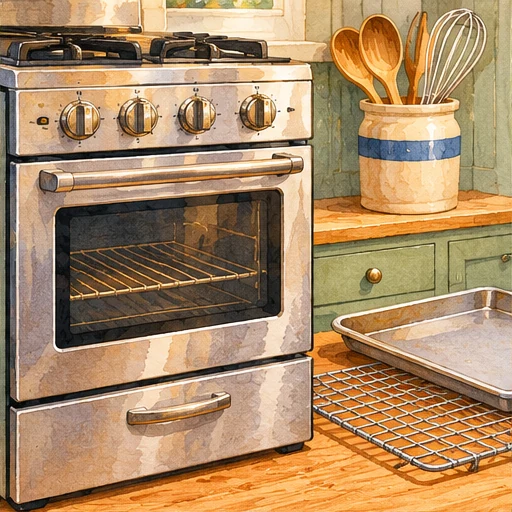
Check cookware compatibility, clear the cooking area and set out dry oven mitts and a heat-safe place to rest a pan. Do not use an oven or stove to heat a room.
The mystery drawer under the range
It might hold pans, keep food warm, or function as a broiler. Which one you have depends on the exact range. Find the model number and check the manual before storing anything in it. A drawer that gets hot is a poor place to discover you’ve been storing plastic lids.
Also look for the oven light, timer, fan and lock settings. Not every icon means the same thing on every make. Write down the few controls you use most, so you won’t need to re-learn the oven every Tuesday.
2. Learn what the heat is doing
The numbers on a burner knob are settings, not exact food temperatures. Begin with the recipe’s recommendation and watch the food. You can lower the heat; turning it to high is not a shortcut.
| Word in the recipe | What you should see or do |
|---|---|
| Simmer | Small bubbles gently break the surface. Lower the heat after bringing the liquid to a boil, if directed. |
| Boil | Active bubbles rise through the liquid. Give the pot room and watch for boil-overs. |
| Saute | Cook pieces in a little fat, usually in a broad, shallow pan, adjusting heat if they darken too quickly. |
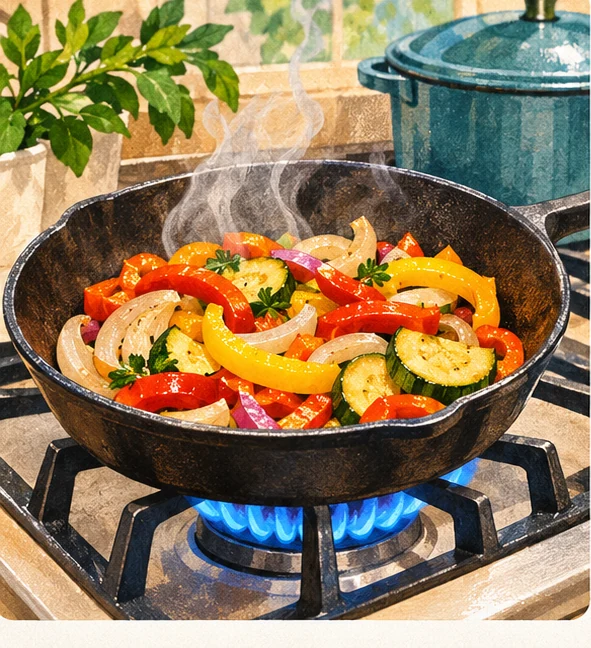
Burners and pans may stay hot after switching them off. Use the appliance indicators and manual rather than touching them to find out.
Heat is not a volume knob
Turning a burner to high doesn’t make every task finish better. For boiling water, a strong heat setting may be appropriate. For onions, eggs, sauces, and most gentle simmering, moderate or lower heat gives you time to notice what’s happening. If oil begins smoking, turn the heat off. A hot pan deserves your attention, not a competitive spirit.
The pan matters too: cast iron retains heat, thin metal can respond quickly, and a crowded pan releases moisture and steams food. Watch the food and adjust rather than expecting every stove to follow the same dial number.
3. Understand bake, broil and preheat
Bake or roast: The oven heats the cooking space. Use the rack position, temperature and suitable cookware described by the recipe.
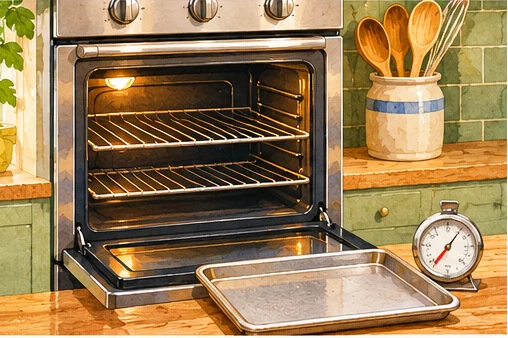
Broil: Strong direct heat browns food rapidly. Stay close; use only broiler-approved equipment and the position specified in the manual.
Preheat: Allow the oven to reach its set temperature when the recipe requests it. Baking times often assume a properly preheated oven.
Do not line the oven floor or block vents. Food packaging and trays have their own oven-safe limits; follow the label rather than relying on appearance.
What the rack and pan placement change
Centering a baking tray generally helps hot air circulate for ordinary baking, unless the recipe or oven manual says otherwise. Broiling uses intense heat from above and requires close attention. Keep oven-safe mitts dry, and check that trays, handles, lids, and liners are approved for that temperature and placement.
When the oven says it’s preheated, that means its sensor has reached a setting; some recipes benefit from a few more minutes for the walls and cookware to stabilize. Start with your manufacturer’s instructions and the recipe, not a universal shortcut.
4. See what convection can already do
A convection oven circulates heated air with a fan. A countertop air fryer also circulates hot air, but its size and airflow are different. If your oven has convection bake, convection roast or air-fry mode, it may already handle some of the jobs you were planning to buy another appliance for.
- Find the exact mode in your own manual.
- Use an appropriate low-sided pan, rack or basket only if your oven permits it.
- Leave space around the food for air to circulate.
- Check progress before the suggested end time, and use a thermometer when a safe minimum internal temperature applies.
Fan cooking, without the guesswork
Convection moves hot air around the food, which can help browning and shorten some cooking times. Some recipes suggest reducing the set temperature by about 25 degrees F, but this is not universal. Convection, air-fry and conventional bake modes differ by appliance; follow the recipe and the manual, check food earlier, and verify safe cooking temperatures with a thermometer.
5. Use your microwave on purpose
A microwave is a useful cooking tool, not just a reheating box. Start with a labeled microwave-safe container. Follow package directions for your microwave wattage, cover and vent food as directed, stir or rotate when needed and allow standing time.
Microwave heating can be uneven. Check leftovers in several places with a food thermometer: the safe reheating target is 165°F / 74°C throughout. Do not leave a conventional metal food thermometer inside a running microwave. Cook microwave-thawed raw meat or poultry immediately.
The USDA microwave-container guidance explains why takeout tubs and other containers are not automatically microwave-safe.
Why the standing time is part of the recipe
Microwaves can heat food unevenly. When instructions say to stir, rotate or let food stand, those steps help heat spread through cooler spots. For leftovers, check that the food reaches 165 degrees F throughout. Use only containers and accessories approved for microwave use; a takeout tub or a metal-rimmed plate may not be suitable.
6. Know when to stop and get help
For a small, contained stovetop grease fire, if you can do so safely, slide a lid over the pan and turn the heat off; leave it covered until cool. Never pour water on burning cooking oil or carry a burning pan across the room. For an oven fire, turn it off and keep the door shut. If a fire is spreading or there is doubt about safety, leave and call emergency services from outside.
If you suspect a gas leak, leave the area. Do not operate switches or use a phone near the suspected leak. Call emergency services from a safe location.
Damaged controls or unfamiliar error messages are reasons to stop using the appliance and consult the manual, landlord or a qualified service professional.
If a pan catches fire
For a small, contained stovetop grease fire, and only if you can act without putting yourself at risk, slide a properly fitting metal lid over the pan, turn off the heat and leave it covered until fully cool. Never throw water on burning oil, never pick up or carry the burning pan, and never use flour. For an oven fire, turn off the heat and leave the door closed. If the fire cannot be safely contained or you are unsure, get everyone out, close the door behind you and call 911 from outside. Keep a clear exit route.
You may have heard that baking soda can stop a small cooking fire. Some safety advice mentions it for limited situations, but throwing pantry ingredients at flames is not a dependable plan for a grease fire. Learn the lid procedure and the fire extinguisher appropriate for your kitchen; use an extinguisher only if you are trained, it is safe, and your exit is clear.
Never attempt a do-it-yourself repair on gas connections, damaged electrical wiring, or a smoking appliance. Stop using it and contact a qualified professional. An odd smell, heat or repeated tripped breaker is information worth acting on.
Sources & further reading
Reliable references for the food-safety and equipment details in this lesson. Appliance directions can vary by model, so use the manual for your own equipment.
- U.S. Fire Administration: Cooking Fire Safety
- USDA: Microwave-safe containers
- USDA: Safe microwave thawing
- Whirlpool: Air Frying in Your Convection Oven
- GE Appliances: Automatic Convection Conversion
- California Public Utilities Commission: Gas Leak Emergency Response
- FoodSafety.gov: Safe Minimum Internal Temperatures
- NFPA: Cooking fire safety
Selected public references checked November 2026. Kitchen and appliance conditions vary; follow manufacturer instructions and relevant food-safety requirements.