

KITCHEN BASICS · LESSON 04
Everyday Cooking Skills
A little know-how goes a long way. Nobody was born knowing how to cook. Someone showed us a thing or two along the way—or we’re figuring it out now. Either way, you’re welcome in the kitchen.
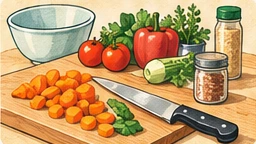
Cooking gets easier when a few everyday things begin to make sense: what a recipe is asking for, how to measure, when to turn down the heat, and how to tell when food is safely cooked. You don’t need a fancy kitchen or a collection of gadgets. You need a little practice and the freedom to learn as you go.
1. Read the recipe before you start
It’s tempting to jump right in, especially when you’re hungry. But take two minutes to read the whole recipe first. Check the servings, equipment, ingredients and steps. Is the rice supposed to be cooked already? Does the butter need to be softened? Is something meant to chill before you serve it? Those little details can make a big difference.
Notice which steps need your attention and which give you time to do something else, like simmering or baking. Clear a bit of counter space and put out the tools you’ll need. Future-you, standing over a hot pan, will appreciate it.
Recipes have a little language of their own
“One cup chopped parsley” means measure after chopping, while “one cup parsley, chopped” generally means measure the parsley first. “Simmer” calls for small, gentle bubbles; “boil” means more active bubbling. “Fold” asks you to combine delicately rather than stir with enthusiasm. Once you notice these words, many recipes stop sounding like they were written in code.
Before starting, circle steps that take time away from the stove: washing rice, thawing ingredients safely in the refrigerator, marinating, or preheating. There is nothing exciting about discovering halfway through dinner that the beans were supposed to soak overnight.
2. Measure what the recipe actually asks for
A teaspoon and a tablespoon are not the same thing, and your cookies may have something to say about it. Use measuring spoons for small amounts rather than the spoons from your silverware drawer.
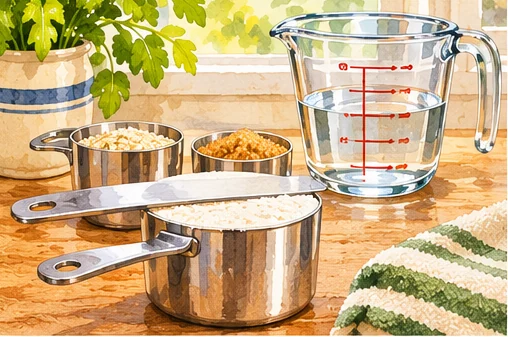
For liquids, set a clear measuring cup on a level surface and read the mark at eye level. For flour, spoon it into a dry measuring cup and level the top unless the recipe tells you otherwise. Don’t press it down.
| U.S. kitchen measure | Equivalent |
|---|---|
| 1 tablespoon (Tbsp) | 3 teaspoons (tsp) |
| 1/4 cup | 4 tablespoons |
| 1/2 cup | 8 tablespoons |
| 1 cup | 16 tablespoons or 8 fluid ounces |
| 2 cups | 1 U.S. pint |
One important distinction: fluid ounces measure volume, while ounces on a kitchen scale measure weight. A cup of flour and a cup of water don’t weigh the same. If a recipe gives weights in grams or ounces, use a scale. For more detail, see Mississippi State Extension’s measuring guidance.
Dry and liquid measures solve different problems
For a dry ingredient, fill the measuring cup and level the top without packing unless the recipe specifically asks you to. For liquid, use a spouted measure on a level surface and look at the line at eye height. Measuring spoons are for teaspoons and tablespoons; an ordinary eating spoon isn’t standardized. When a baking recipe provides weights, a kitchen scale can make repeat results easier.
3. Get things ready without making a production of it
Wash your hands, make room to work, and set a cutting board on a surface where it won’t slide. Rinse fruits and vegetables under running water. Keep produce and ready-to-eat foods separate from raw meat, poultry and seafood, and don’t wash raw poultry. The four food-safety steps are worth knowing.
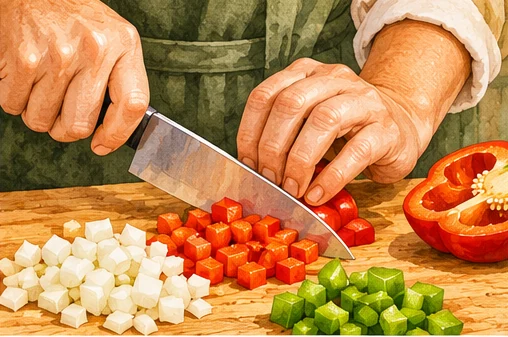
With a knife, slow and steady is just fine. Keep your fingers away from the blade, cut away from your body, and aim for pieces that are fairly even so they cook at about the same rate. You’re making something to eat, not auditioning for a cooking competition.
When a recipe says slice, it usually means pieces or rounds. Dice means smaller cube-like pieces. Mince means chop something very finely. And if pre-cut vegetables make dinner possible on a busy day, use them. That’s being practical.
Why the cutting board keeps slipping
Set the board on a level surface and use a non-slip mat or another manufacturer-approved stabilizer underneath. Keep the knife’s path clear of clutter and curl fingertips away from the blade as you cut. A sharp, well-maintained knife that fits your hand is easier to control than a neglected one.
4. Pay attention to the pan
The heat setting in a recipe is a starting point, not a dare. Stoves and pans behave differently. If food is browning too quickly on the outside while the inside still needs cooking, turn the heat down as appropriate and follow the recipe’s directions. If everything is crowded into one pan, cook in batches so the food can cook more evenly.
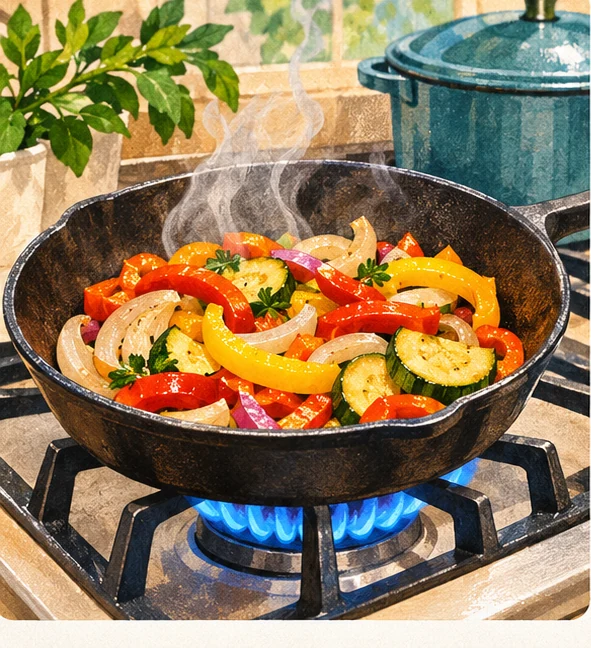
For pasta, rice and packaged ingredients, check the package instructions too. Different varieties can call for different amounts of water and cooking times. Set a timer, then look, stir or test when the recipe tells you to.
Seasoning is something you learn by paying attention. Taste and adjust only when the food is safe to taste, using a clean spoon. Never taste raw meat mixtures or raw dough or batter. See the FDA’s safe-food-handling guidance.
What to listen for and look for
A quiet sizzle suggests moisture is evaporating and the food is cooking against a hot surface. Loud popping or smoking oil is a signal to adjust. Food that releases easily after browning often needs less tugging than you think. Add small amounts of liquid to loosen flavorful browned bits only when the pan and recipe make it safe to do so.
When cooking pasta, save a small mug of starchy cooking water before draining; a splash may help loosen and combine a sauce. It isn’t a secret ingredient so much as water with some starch in it. Sometimes the useful trick was in the pot all along.
5. Know when it’s safely done
“Cook for 20 minutes” is helpful, but the clock can’t tell you everything. For foods that require a safe internal temperature, use a food thermometer. Insert it into the thickest part, away from bone, and follow the thermometer’s instructions. A little checking beats a lot of guessing.
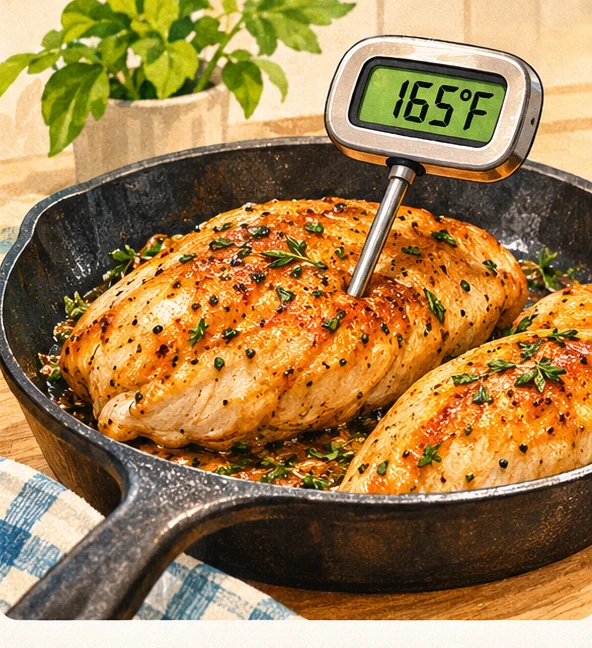
| Food | Minimum internal temperature |
|---|---|
| Chicken, turkey and other poultry, including ground poultry | 165°F / 74°C |
| Ground beef, pork, lamb and veal | 160°F / 71°C |
| Whole cuts of beef, pork, lamb and veal | 145°F / 63°C, then rest for at least 3 minutes |
| Fish | 145°F / 63°C |
| Leftovers and casseroles | 165°F / 74°C |
That’s a short reference, not the whole chart. Check FoodSafety.gov’s complete temperature chart for eggs, other foods and exceptions. Color alone doesn’t reliably tell you whether food is safe.
Color and time aren’t the whole story
To get a reliable reading, put the food thermometer into the thickest part away from bone or the pan. Clean the probe between foods and follow the manufacturer’s instructions. The chart above is the useful shortcut; the full government chart covers more foods and exceptions.
6. Enjoy dinner—and take care of what’s left
Turn off the heat and check the controls. Serve your meal, then put the leftovers away promptly. Don’t leave a large pot sitting out until it feels cool. Our next lesson covers cooling, storing and reheating food.
Before you forget, make yourself one small note. Maybe the smaller burner worked better. Maybe the pan was too crowded. Maybe the rice needed a head start. That’s useful knowledge, and next time you’ll have it. That’s how a recipe becomes familiar—and eventually feels like your own.
End in a way that helps tomorrow
Move perishable leftovers into shallow containers promptly, refrigerate within two hours (one hour when the temperature is over 90 degrees F), and label the date. A future meal is a lovely reward for today’s cooking; a mystery container is considerably less charming.
FROM LEARNING TO DOING
Now, let’s make something
You can read about cooking all afternoon, but sooner or later you’ve got to give it a try. Pick something you like. A familiar meal is a perfectly good place to start.
Read the recipe, gather what you need, and take it one step at a time. Maybe you’ll learn that your skillet heats up quickly, or that you prefer a little less onion. That’s how you get comfortable in your own kitchen.
Explore free recipes on the Fuel Board →
Free to browse. No account needed.
Sources & further reading
Practical references for this lesson. Appliance instructions vary by model, so use your own manual.
- Mississippi State University Extension: Measuring
- FoodSafety.gov: Four Steps to Food Safety
- FDA: Safe Food Handling
- FoodSafety.gov: Safe Minimum Internal Temperatures
Selected public references checked November 2026. Kitchen and appliance conditions vary; follow manufacturer instructions and relevant food-safety requirements.