

KITCHEN BASICS · LESSON 06
Storage & Cleanup
A little kitchen know-how protects your food, your tools and the people you feed. The best routines are usually the ones you can repeat.
There is no prize for having the last plate washed before the meal is finished. First take care of the food. Then make the kitchen ready for the next time you need it.
1. Give different foods the right home
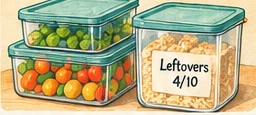
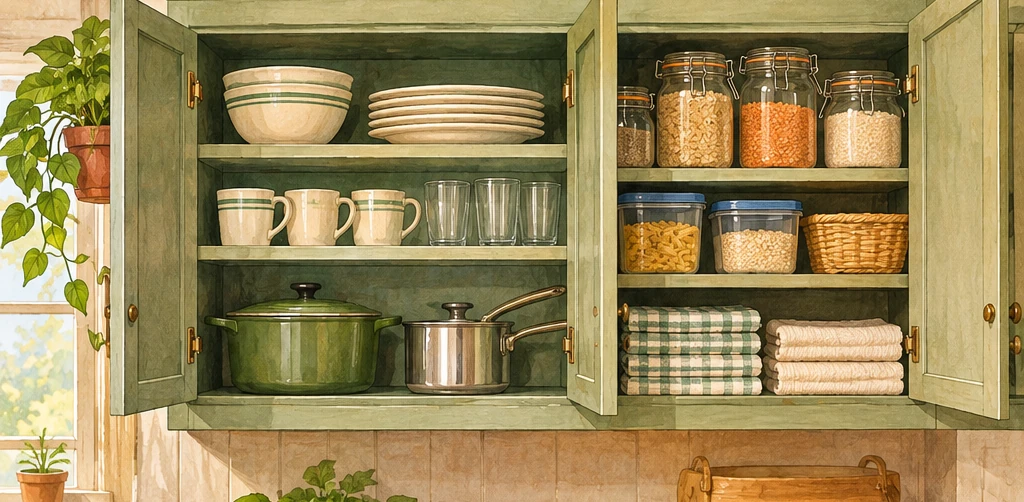
Some foods belong in a dry cupboard. Others need the refrigerator or freezer, and some change rules after the package is opened. Follow the packaging and the official storage chart rather than treating every item the same.
Use an appliance thermometer to keep the refrigerator at 40°F / 4°C or below and the freezer at 0°F / -18°C or below. Give cold air room to circulate. Keep raw meat, poultry and seafood in leakproof containers away from ready-to-eat foods.
Use the Cold Food Storage Chart for the specific item. Raw ground meat and poultry usually keep for much less time in the refrigerator than cooked leftovers.
What the refrigerator thermometer tells you
A small appliance thermometer checks the actual cold-storage temperature instead of relying on the dial’s number. Put raw meat, poultry and seafood on a lower shelf in leakproof packaging so juices cannot drip onto ready-to-eat food. It is a simple rearrangement with an important job.
Dry goods need their own practical system. Seal opened packages as directed, watch for pantry pests and moisture, and keep cleaners well away from food. A tidy cupboard is pleasant; knowing what’s in it is more useful.
2. Cool and store leftovers promptly
When the meal is over, put the perishable food away before tackling the dishes. Refrigerate it within 2 hours; when the surrounding temperature is above 90°F / 32°C, the limit is 1 hour.
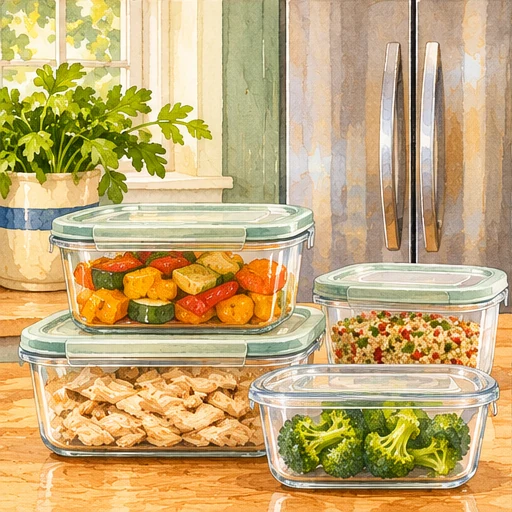
Divide large batches into shallow containers so they cool quickly. Hot food can go in the refrigerator; do not leave a big pot out until it feels cool. Properly handled refrigerated leftovers are generally used within 3-4 days, or frozen sooner.
Why shallow containers help
Heat leaves a shallow container faster than a deep pot full of hot soup. That is why a few smaller containers are better than parking a giant stockpot on the counter while it cools. Label what you saved and the date, so the next person knows what is in the refrigerator.
3. Freeze portions you can use
Freeze soup in smaller containers, bread in portions or cooked components in amounts that match a future meal. Choose freezer-suitable containers or wrapping, allow expansion room when needed and write down what is inside.
Freezer storage time charts often refer to quality. Food kept continuously at 0°F / -18°C stays frozen, but freezing does not undo unsafe storage or make spoilage disappear. Check the history of any food affected by a power outage or thawing.
A little label saves a guessing game
Write the food, the date, and sometimes the number of servings. Freeze in portions you can actually use. For soups or sauces, leave appropriate headspace for expansion and use freezer-safe containers. Frozen food can remain safe when continuously frozen at 0 degrees F, although quality may decline over time; the official cold-storage chart gives useful quality timelines.
4. Thaw and reheat safely
Raw meat and poultry can be thawed in the refrigerator, in cold water or in the microwave; not on the counter. For cold-water thawing, use a leakproof bag in cold tap water, change the water every 30 minutes and cook promptly after thawing. Food thawed in the microwave should also be cooked immediately.
Reheat leftovers to 165°F / 74°C throughout. Stir or rotate microwave food and allow standing time; check with a food thermometer in more than one place. USDA advises reheating in an oven set no lower than 325°F / 163°C and does not recommend using a slow cooker to reheat cold leftovers.
Reheating does not start a fresh three-to-four-day storage clock. Keep track of when the food was originally prepared.
The microwave still needs attention
Microwave reheating calls for stirring or rotating because one part of the dish can be hot while another is still cool. Follow standing-time instructions and check several spots with a food thermometer. A microwave turntable helps; it does not guarantee even heating.
5. Understand dates without guessing safety
“Best if used by” often describes best quality, not an automatic safety deadline. Storage, handling and the type of food matter. Do not use infant formula after its use-by date.
You cannot rely on smell or a tiny taste to detect every food-safety hazard. If you do not know how long something sat out or whether it was kept cold, do not taste-test it to decide whether to keep it.
A date is not a magic safety switch
A label can tell you when something was bought or cooked, but only safe handling tells you whether it was stored correctly. Follow refrigeration times, recall notices and any special package instructions. When the history is uncertain, do not taste-test your way to an answer.
6. End with a small kitchen routine
- Store food first. Take care of leftovers and perishables.
- Wash the tools and worktop. Use hot, soapy water and follow each item’s care directions.
- Prevent cross-contact and contamination. Wash hands for at least 20 seconds and clean between raw-animal-food and ready-to-eat tasks.
- Reset the space. Dry and put away tools, replace damp towels and confirm the stove and oven are off.
Follow the product label when using a food-contact sanitizer or disinfectant, including contact time and any rinse instructions. Never mix cleaning chemicals. Keep cleaning products away from food and children.
Cleaning, sanitizing, and disinfecting are not the same job
Start by washing surfaces with soap or detergent and water to remove food residue and grease. Where sanitizing or disinfecting is appropriate, use a product labeled for that surface, follow its directions and required contact time, and follow any food-contact rinsing directions. Never use household disinfectants to wash produce.
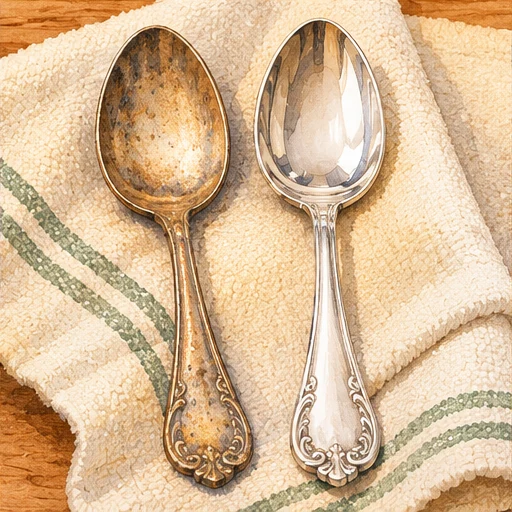
The silver spoon isn’t indestructible
Silver can tarnish from reactions at its surface, and cleaning is not the same as polishing. First identify whether an object is sterling, silver plate or a piece with wooden, glued or delicate decorative parts. For suitable plain pieces, gentle cleaning with an appropriate mild cleaner and soft cloth may be enough. Avoid aggressive scrubbing, chemical dips and home aluminum-foil baths on plated, antique or delicate pieces; they can damage finishes and decorative detail. Consult the maker’s guidance or a conservator for heirlooms.
That little spoon may have survived three generations. It deserves better than an experimental chemistry lesson in the sink.
Sources & further reading
Reliable references for the food-safety and equipment details in this lesson. Appliance directions can vary by model, so use the manual for your own equipment.
- FoodSafety.gov: Cold Food Storage Chart
- USDA: How do I handle leftovers safely?
- USDA: How do you thaw food safely?
- USDA: What methods of reheating food are safe?
- FDA: Are You Storing Food Safely?
- FoodSafety.gov: Four Steps to Food Safety
- CDC: Preventing food poisoning
- Poison Help: Prevention tips for household products
- Poison Control: Chlorine gas and mixed cleaners
- Canadian Conservation Institute: Silver care and tarnish removal
Selected public references checked November 2026. Kitchen and appliance conditions vary; follow manufacturer instructions and relevant food-safety requirements.