

KITCHEN BASICS · LESSON 07
Putting a Meal Together
A good meal begins with an idea, some familiar ingredients and the next practical step. You can make something satisfying without turning dinner into a major production.
You do not need to make something new every night. A little kitchen confidence is knowing a few reliable ways to put food on the table, even when the day did not go as planned.
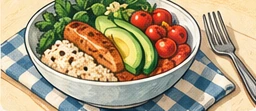
1. Choose a meal that fits today
A meal can be cooked, assembled or a little of both. Maybe you have time to simmer a pot of soup. Maybe the energy available today is enough for a sandwich and a bowl of fruit. Both are real meals.
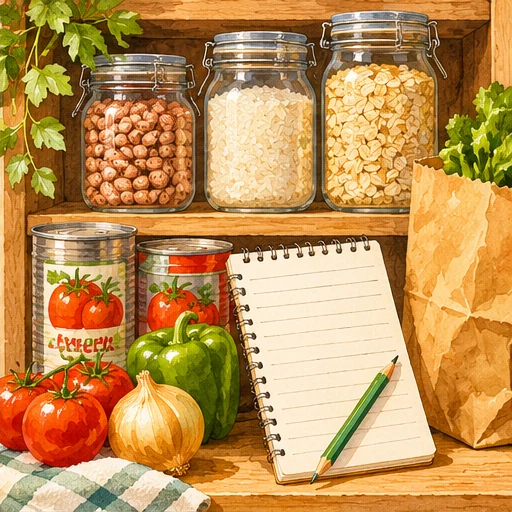
Start with four questions: What sounds good? What is already in the kitchen? How much time and energy do you have? What equipment is available?
You do not need to learn a new recipe every time. The meals you already enjoy are excellent teachers.
Begin with what today is actually like
Some evenings you have an hour and want to enjoy cooking. Some evenings you have fifteen minutes and one clean pan. Choose a meal that fits your time, the ingredients on hand and the people who are eating. Soup, toast and fruit can be a perfectly respectable meal when that’s what works.
Check for one thing that needs using soon, one familiar base, and something fresh or frozen to round it out. This is a plan you can make in the time it takes to open the refrigerator.
2. Build a simple combination
Think in combinations instead of perfect formulas. These are starting ideas to adapt to your appetite, dietary needs, available ingredients and household allergies – not a prescribed diet.
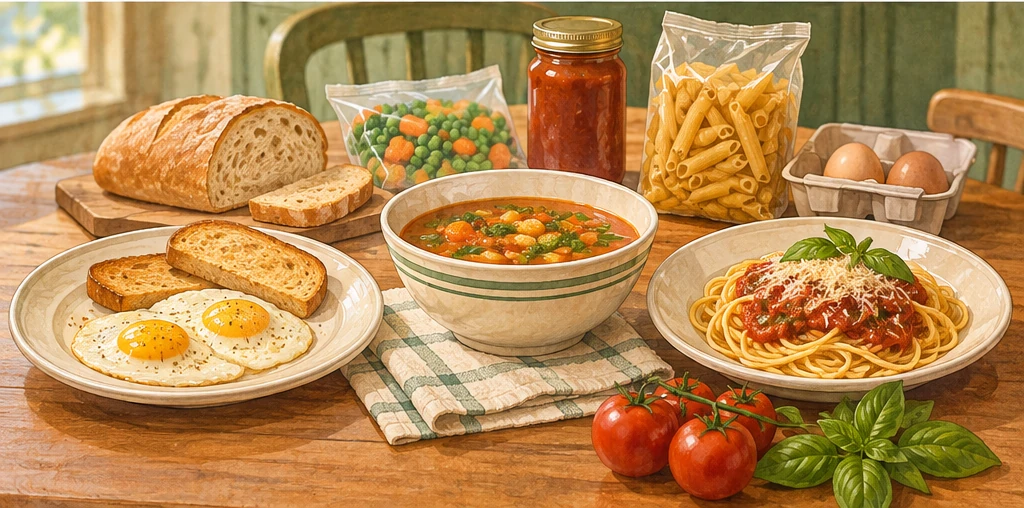
| Start here | Add something you enjoy | Make it work today |
|---|---|---|
| Bread, toast or tortillas | Eggs, cheese, beans or another filling | Use an easy no-cook filling when the stove feels like too much. |
| Rice, grains or noodles | Cooked beans, chicken or another prepared protein | Add vegetables and a sauce you like; reheat stored foods safely. |
| Soup | Bread, a sandwich or another side | Prepared soup is fine; check whether it is condensed. |
| Snack-style plate | Foods you like in a few groups | Use fruit, vegetables, crackers, cheese or other familiar items. |
When you want specific amounts and full instructions, choose a recipe from the public Fuel Board.
The useful building blocks
Think in flexible parts: a base such as rice, pasta, bread or potatoes; a protein food such as eggs, beans, fish, meat or yogurt; vegetables or fruit; and flavor from herbs, spices, acidity or a little fat. Not every meal has to include every part, and your family’s needs and preferences matter. A good combination is one you’ll eat and enjoy.
One pot of rice could accompany a quick bean bowl today and a vegetable-and-egg dish tomorrow. Cook and cool rice safely, refrigerate it promptly and reheat thoroughly; don’t leave it sitting out for later.
3. Let the longest job set the order
Read the directions first. If rice needs time to cook, start it before you chop vegetables that only need a few minutes. Get your plate and serving tools ready before the heat-sensitive work finishes.
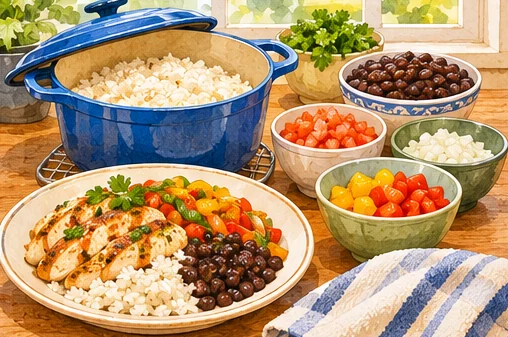
- Choose your parts. For example: rice, canned beans and vegetables.
- Start the longest task. Cook rice using the directions for that variety, rather than guessing a water ratio.
- Prepare the rest. Heat the beans and cook or warm the vegetables, keeping food-safety steps in mind.
- Serve and store. Put away perishable portions promptly; cooked rice needs proper time and temperature controls too.
This is an order-of-work example, not a universal rice recipe. The Everyday Cooking Skills lesson can help with unfamiliar steps.
A real twenty-five-minute example
First: put quick-cooking rice or another suitable grain on according to its package time. Next: wash and cut vegetables while it cooks. Then: warm canned beans and saute the vegetables, keeping them separate from any raw meat you are preparing. Finally: taste, season, and serve. A timer helps, but check the food rather than trusting the clock with every decision.
If your grain takes longer, begin earlier or choose another base. Learning the order of jobs is a skill you can reuse with dozens of meals.
4. Cook for the people who are eating
Read the recipe yield. If you live alone or cook for two, a smaller batch may be useful; another option is to plan how the extra servings will be stored or shared. Doubling a recipe may change the cookware, heating and cooking time required.
Before cooking extra, decide where the food will go: lunch tomorrow, a safely refrigerated portion or the freezer. The Storage & Cleanup lesson covers the storage details.
Make one meal adaptable
A shared table can offer the same base with different toppings or sauces, keeping food allergies and cross-contact precautions in mind. Someone may want less spice, a softer texture or a different ingredient. Let people make choices where practical without turning dinner into seven separate restaurant orders.
If you’re cooking for a parent or another household, ask about their usual foods, allergies and any medically prescribed restrictions instead of guessing.
5. Make a meal that can travel
When packing perishables, use an insulated lunch bag with at least two cold sources, and refrigerate the food on arrival if possible. For hot soup or other hot foods, use a suitable insulated container and keep hot foods at 140°F / 60°C or above. Follow the USDA packed-lunch guidance.
Check whether you will have a refrigerator, microwave or a safe place to eat. Remember the utensils. A meal that requires equipment you do not have is not a useful plan.
A lunch that leaves the house
Pack perishables in an insulated lunch bag with sufficient cold sources and keep them cold until eating. For hot foods, preheat an insulated container as its manufacturer instructs and keep food hot. The exact equipment and holding times matter; if safe temperature control isn’t possible, choose foods that do not need refrigeration.
7. Practice with a real recipe
Open the Fuel Board and choose a familiar recipe that fits your equipment and available time. Read through the steps once before starting. Pick one thing to practice: measuring, watching the heat or storing the leftovers safely.
The question to keep asking
When a recipe seems to require a specialized tool or ingredient, ask what job it performs. Is it chopping, stirring, browning, thickening, or adding acidity? You may be able to use a tool or ingredient you know well, although safety, allergies and baking chemistry can limit substitutions. Understanding the reason behind a step is more useful than memorizing a thousand rules.
Sources & further reading
Reliable references for the food-safety and equipment details in this lesson. Appliance directions can vary by model, so use the manual for your own equipment.
- USDA: How do you keep a bag lunch safe?
- FDA: Have Food Allergies? Read the Label
- USDA: How do I handle leftovers safely?
- FoodSafety.gov: Four steps to food safety
- FDA: Food allergens and labeling
Selected public references checked November 2026. Kitchen and appliance conditions vary; follow manufacturer instructions and relevant food-safety requirements.